BLE Presence detection for Apple Watch using Tasker
- smashteevee

- Nov 5, 2021
- 4 min read
Updated: Feb 9, 2023
UPDATE: Feb 8, 2023: I've since built an App to detect Apple Watch BLE signals to replace this Tasker setup.
Presence detection is a cool feature for home automation and I prefer BLE (Bluetooth low energy) detection as it neither requires battery-draining apps, GPS, nor (usually) extra hardware. Most smartphones and smart watches emit BLE "packets" that a Bluetooth adapter can detect.
BLE detection of Apple watches is harder. For reasons of privacy, their MAC addresses rotate every ~45 minutes, making it impossible to "detect" when a known MAC is nearby. Great for privacy, but hard for presence detection.
My Home Assistant setup runs on an old Android phone and because Termux doesn't have access to the phone's Bluetooth adapter, I use Tasker as a "bridge" to use the built-in Bluetooth for BLE detection. Using Tasker, AutoInput and the nRF Connect app, I've been able to automate detection of a particular Apple watch wearer being home or not.
Here's a demo of it in action, during its initial scan for my particular Apple Watch, where it makes a GATT connection to each BLE device, looking for it:
Here's a demo of it on subsequent scan, where it looks for the last saved MAC address from the last time we found the watch (and if not, it repeats the steps above):
Interested? Download the Task (Taskernet link) here.
Hol'up! If you're a bit wary of downloading random things onto your phone, you should be! So read on to learn more on how it works first...
The Concept: How do you identify an Apple Watch via BLE?
Some quick background concepts: even with rotating MAC addresses, there are some things you can infer from an Apple Watch BLE signal: you can identify Apple BLE devices with their 0x4c00 manufacturing identifier. The rest of the Nearby Info message contains information about the state of the iOS device. This page does a good job explaining how to interpret the hex bits in the advertising packet to identify an Apple watch. With apps like nRF Connect, you can thus filter to potential Apple Watch devices by using this prefix:
0x4C0010050
Still, we can't know for sure if it's your specific Apple watch you're looking for (given the changing MAC). The next level of identification is to GATT connect to each BLE device, retrieve its device characteristics, and match for its specific device model string. For instance, I look for the string "Watch5,11" as that is the device string for my Apple Watch SE 40mm. You can find the respective device model string in this handy list as I did:
Watch5,11 : Apple Watch SE 40mm case (GPS+Cellular)If you no one else in your house has an Apple Watch (or in my case, if no one has the same model nearby in my building), this is sufficient for detecting home presence.

The Setup
Follow the below steps to set this up.
Caveat: You must be OK with apps auto-opening and simulating button taps on your Android. In my case, this is a spare phone hidden in a book shelf for Home Autoation, so I don't care about that.
Caveat2: I'm a software engineer by training and threw up a little in my mouth thinking about scripting simulated manual button presses of an app, when I could be writing a custom app to directly implement what I need. But this seemed a lot more fun!
Get a spare Android phone (I have a Pixel 2 XL on Android 10, unrooted)
Install Tasker
Install AutoInput plugin for Tasker (and enable the right permissions so Autoinput can simulate button presses on your behalf)
Install nrf Connect BLE scanner app for Android (IMO the best Android BLE scanning app)
On your Android, download my Tasker task via this Taskernet link (it will give you an option to preview in Tasker before installing the Task)
Edit the Task (Step 71) to enter your specific Apple Watch model string (find yours here). Eg, I use "Watch5,11". Assumes your Apple Watch model is unique to your scanning area (apartment dwellers may want to manually scan with nRF Connect a few times to confirm this!)
WOOHOO! Done!
Here are a few additional recommended steps:
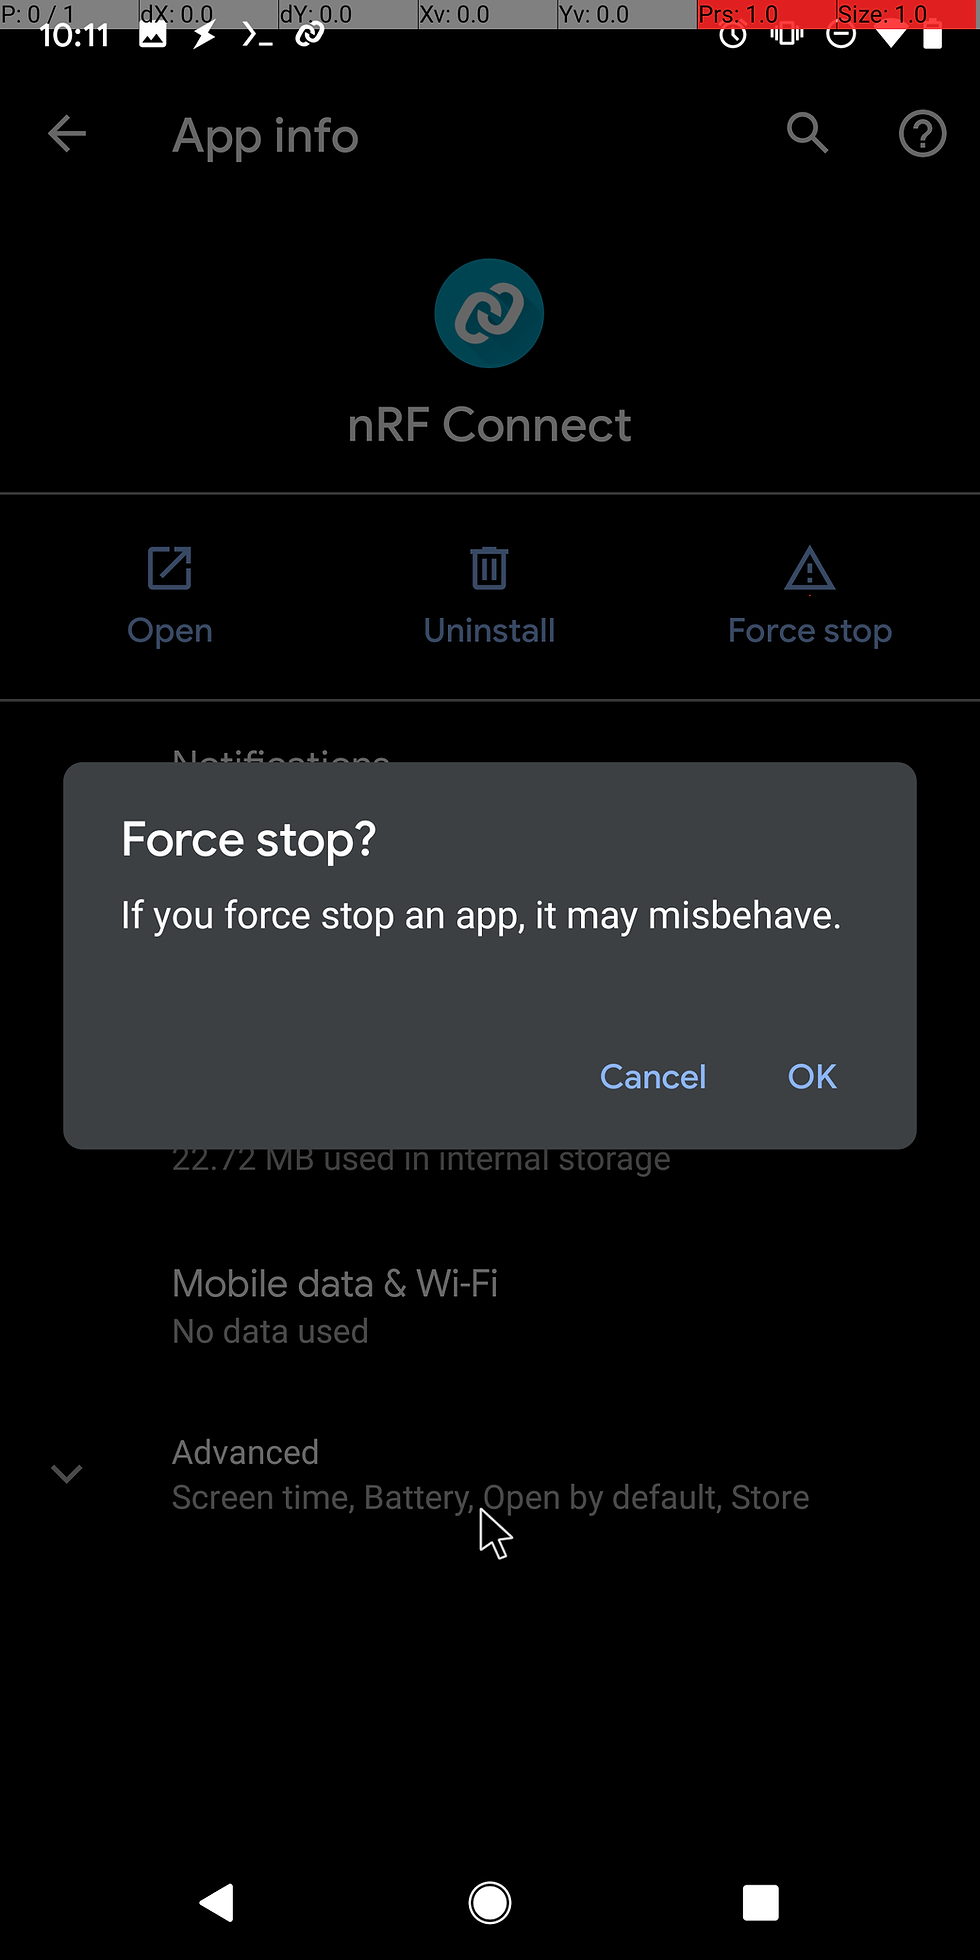
Manually run this task a few times to validate it works for you. For instance, I force stop the nRF Connect at Task begin to have a clean start. I do this via App Settings and this menu may differ on your Android device/OS version
Set up a Tasker Profile to run this Task every ~5 minutes (I use it to ping periodic Home/Away status to my Home Assistant)
Set up a BLE scanning filter in nRF Connect to only Apple devices (as described in the section above). Filter to other parameters (eg, RSSI max) to make scans more efficient. The great thing is that nRF Connect saves this filter setting even through app restarts.
Some Android phones have a weird issue where BLE stops working. I've used this succesfully for about a month but have had to manually clear the BLE cache one time
Set your BLE scan settings in nRF Connect to scan as briefly as possible - I use 5 seconds
Want to know what the Task is doing? The Explainer
Here's the logic:
On start, AutoInput force closes, then launches the nRF Connect app (in case it got left in a bad state)
It loads the last saved MAC address of when it last found your watch, if any
It loads a denylist of static MAC addresses you don't care about (I'm looking at you, Neighbor's Apple TV!)
It does a BLE scan
If we see the last saved MAC address in the scan results, we're done! We found it
If we don't, then for each BLE device, we initiate a GATT connection to retrieve its device characteristics, then load them and compare for our desired device model string ("Watch5,11" in my case). Some basic retry logic included
If we ever find it, we end the For loop early. Otherwise, continue trying for each BLE device not on denylist
Hope this was helpful! Let me know what you think in the comment section below!


Comments